
I found via youtube that another technique is to use binder reinforcements to create the moon shape and paint over it as a guide. That, my friends, is what I did here. However, I found that it's easier to cut the binder reinforcements in half to make it easier to stick them to your nails.
So, this is what you do:
1. Paint nails all over with a base color. I prefer to make this a light color since you're going to be going over it later. This is the color of the 'moons'.
2. place the reinforcements on, one hand at a time, and paint over in your top color. I would advise that these colors have good contrast to make it stand out more.
3. remove reinforcements and add a top coat. done!
Below is my finished product. I have Essie's 'imported bubbly' on the bottom and essie's 'coat azure' on the top.
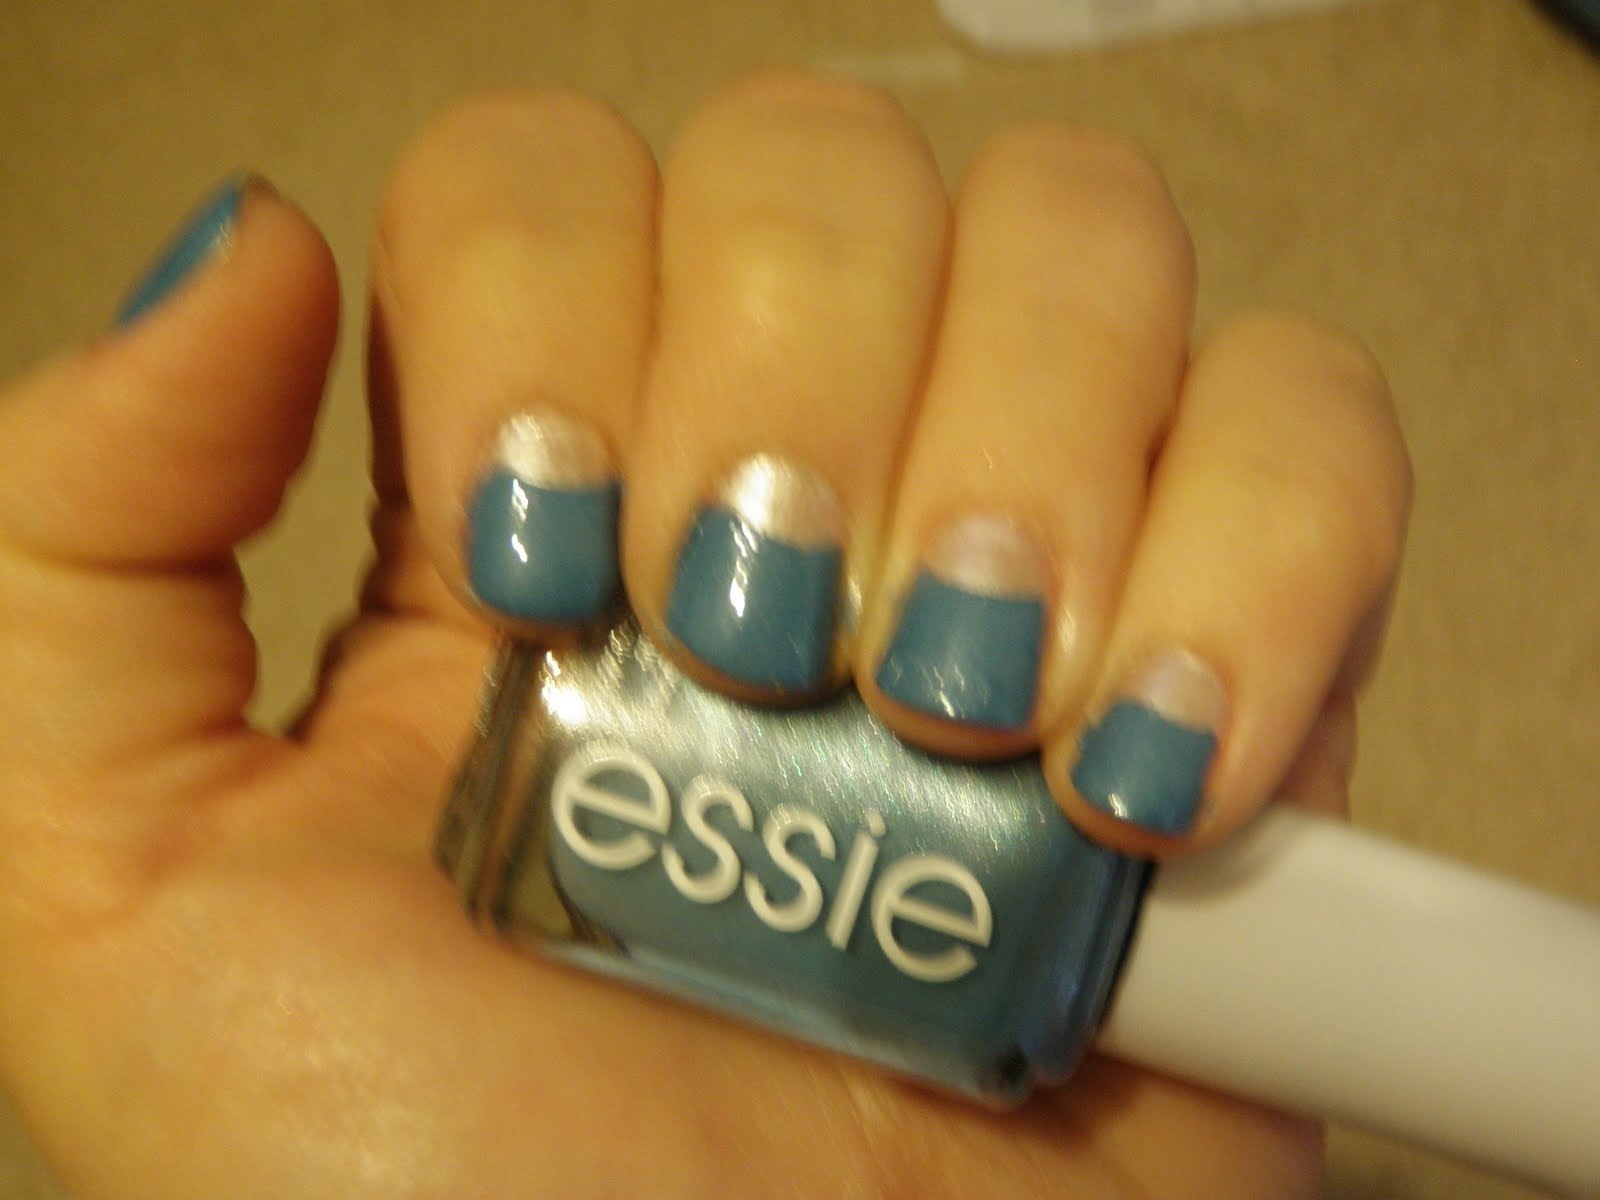
 Sorry for the blurry pic below, but it's a good close up of the moons.
No comments:
Post a Comment